Zortrax fumes extraction DIY
by przemyslaw.marchewka 8 October 2015 in Zortrax Parts
Report abuse
by przemyslaw.marchewka 8 October 2015 in Zortrax Parts
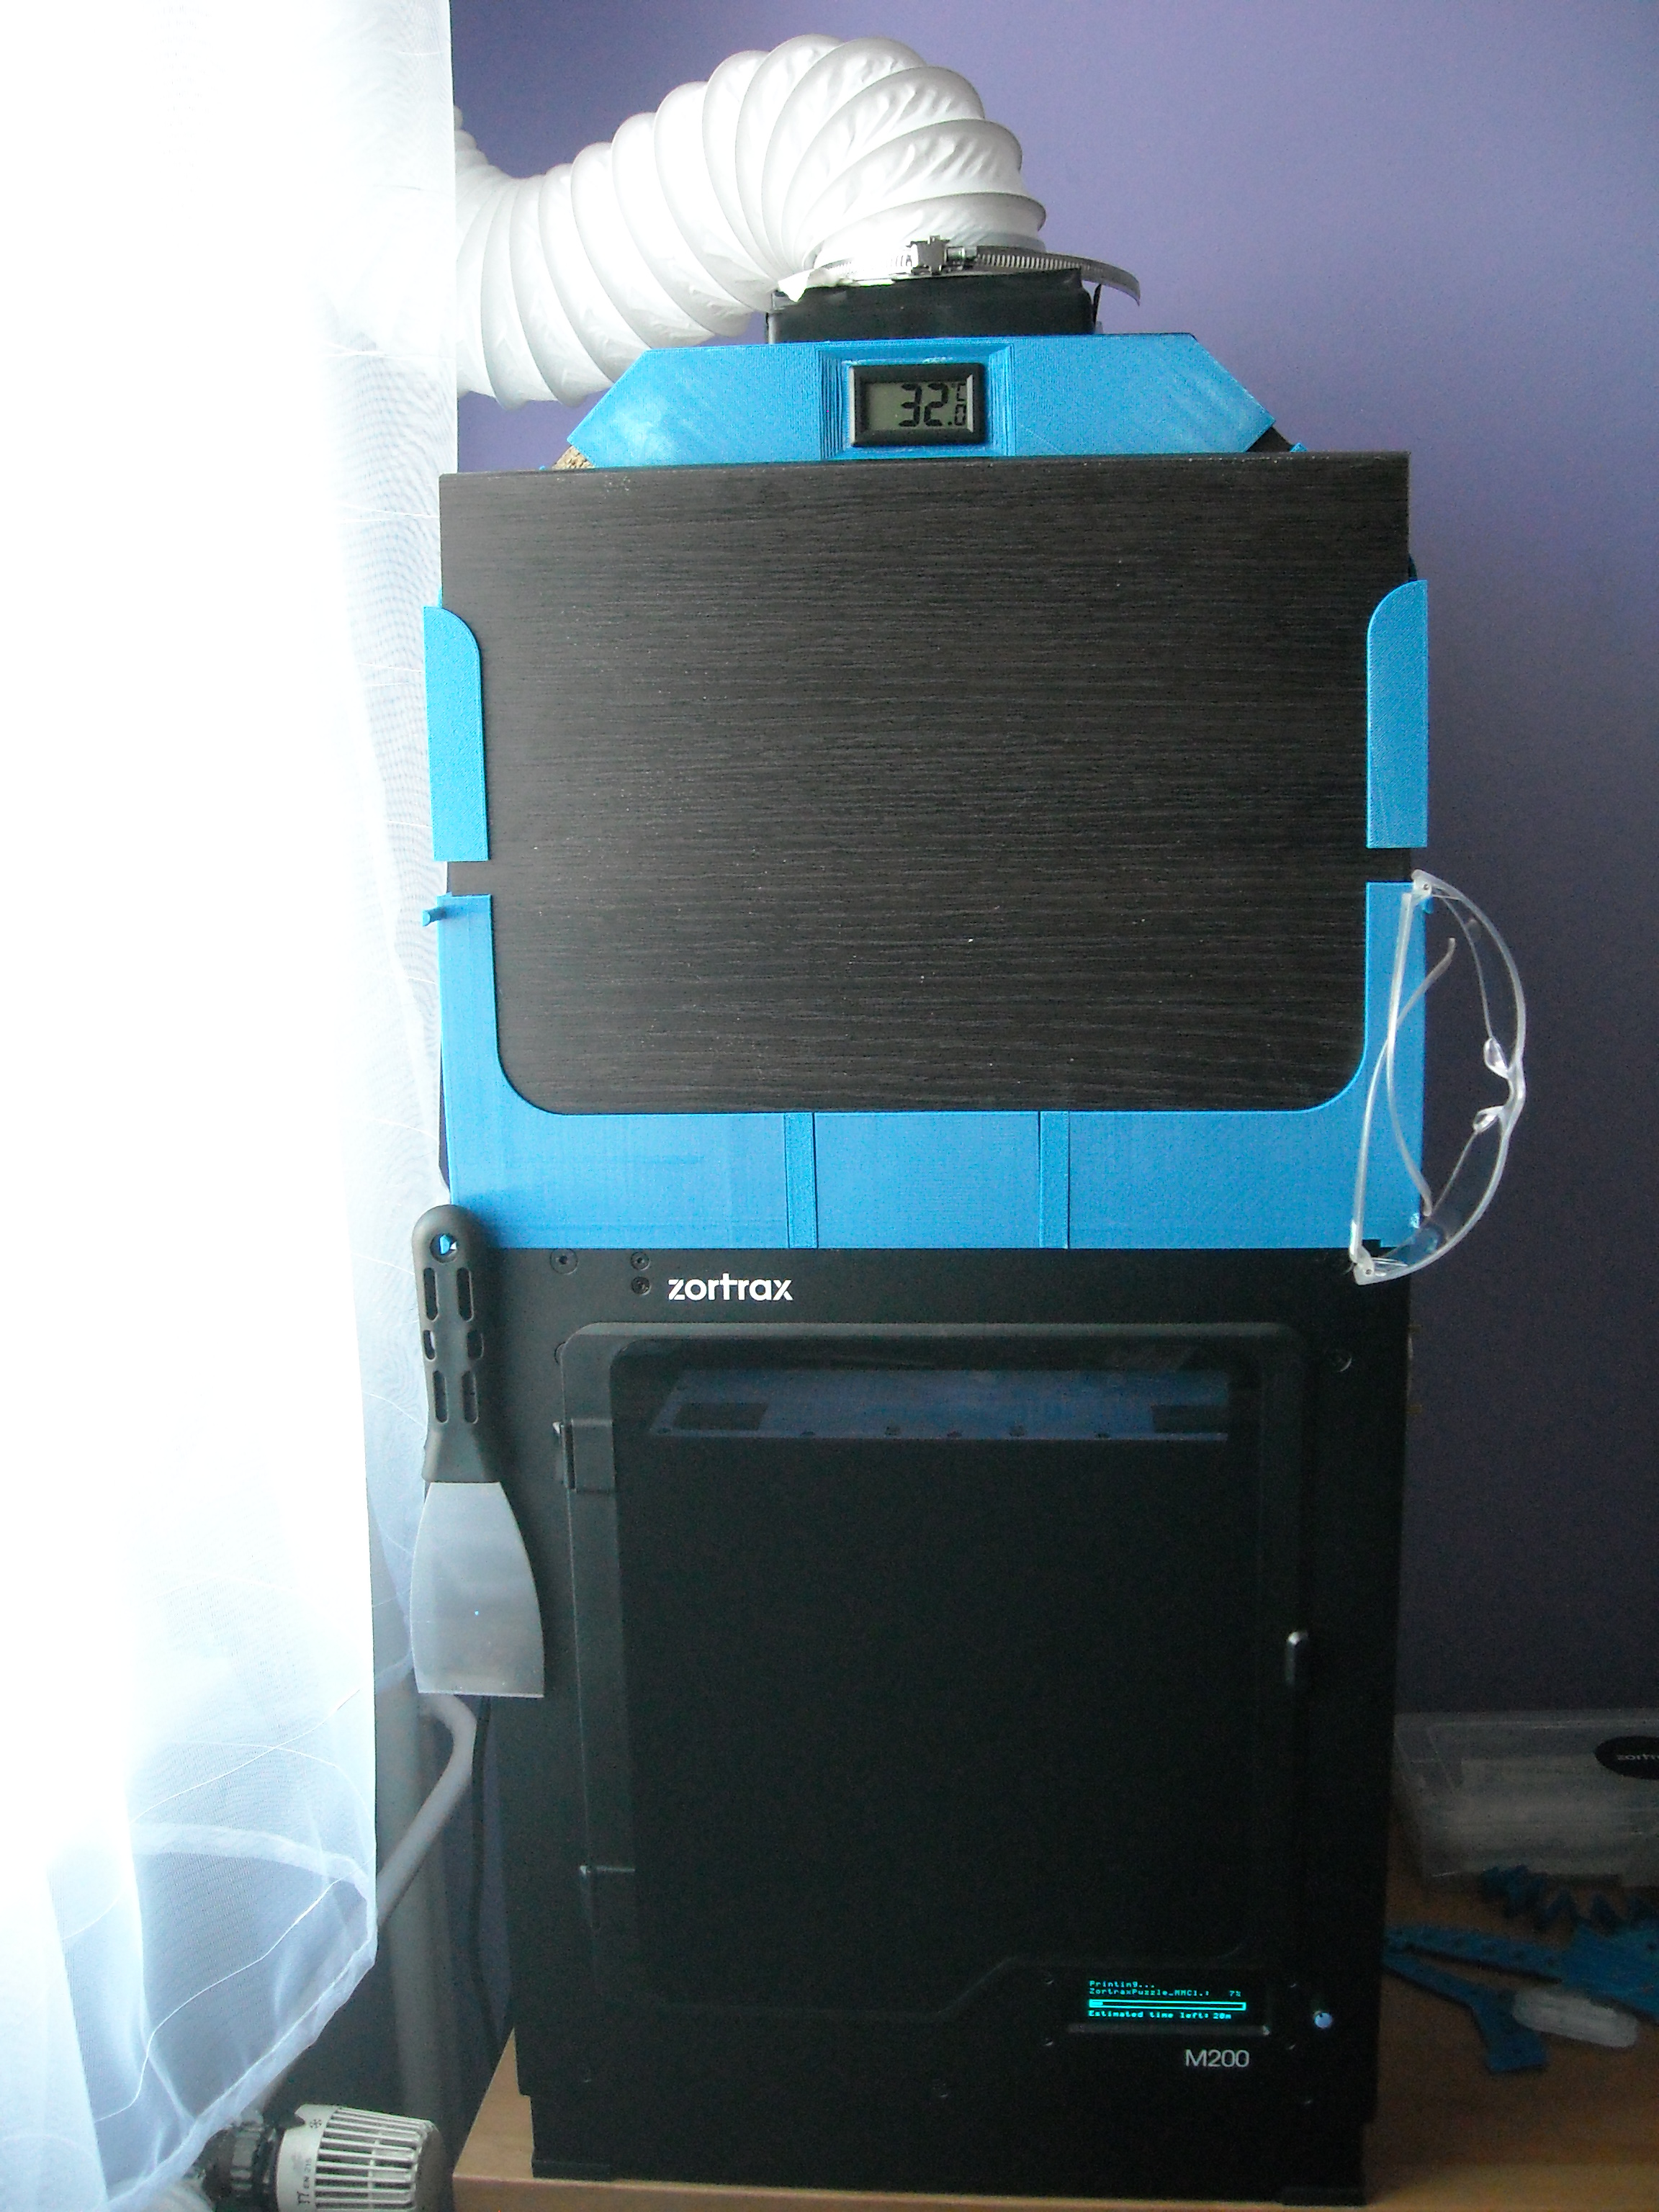


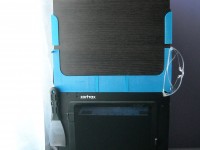


Main features:
– Front side can be easy removed for maintenance tasks
– Chamber has thermometer measuring temperature inside the printer
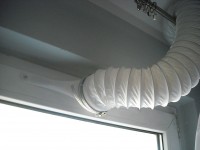
– Back side has a hole for cable and filament tube
– Pipe is connected by a brace that can be easily disconnected and it should be disconnected when the extractor is switched off
– Chamber has many useful tool holders
This is only an example how you can extend your Zortrax machine.
Please be aware that this is work in progress.
I have a long list of improvements, so with second Zortrax printer I will have an occasion to improve this project and build new model from the scratch.
Background history of the project:
I was looking for a solution to problem with fumes generated by 3d Printers.
I was surprised by the indifference of people to fumes generated by their devices.
So as any regular further of a infant child I decided that I will build my own solution for fumes extraction to protect our health.
Before I bought a 3D printer I decided that this will be my first project 
I hope that example presented in the instruction bellow can save us from fumes that are not fully examined.
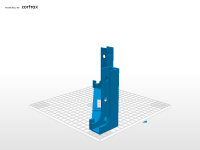
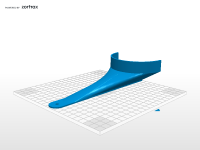
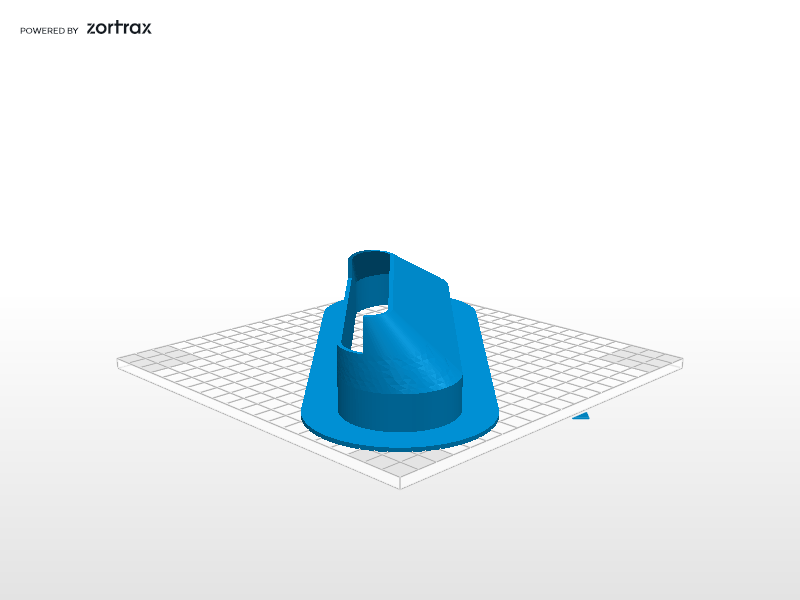
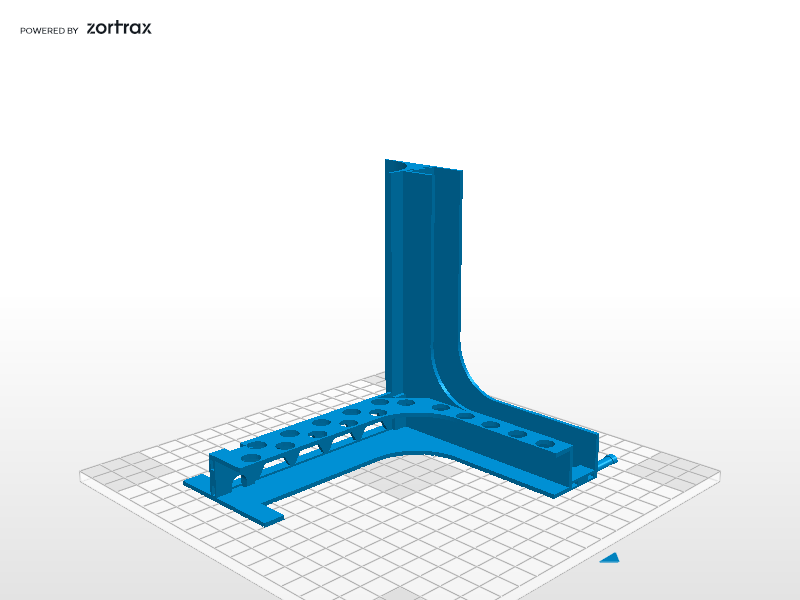
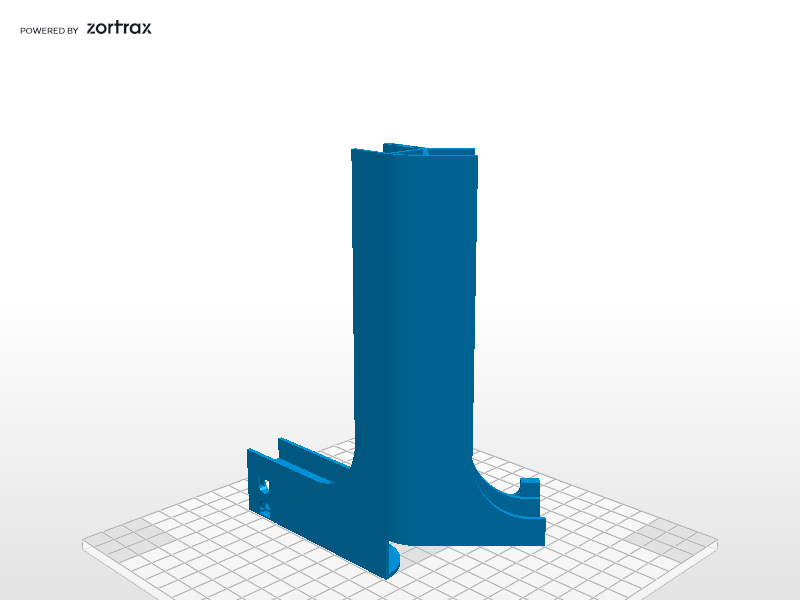
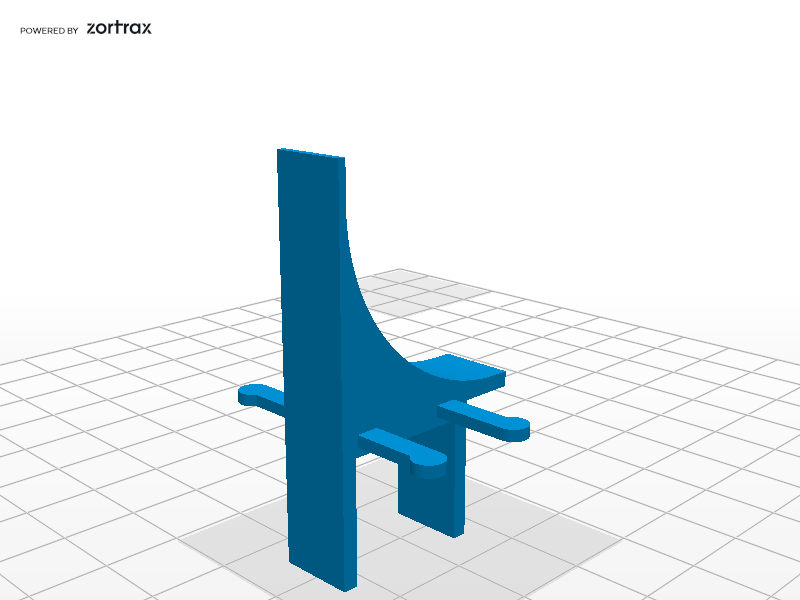
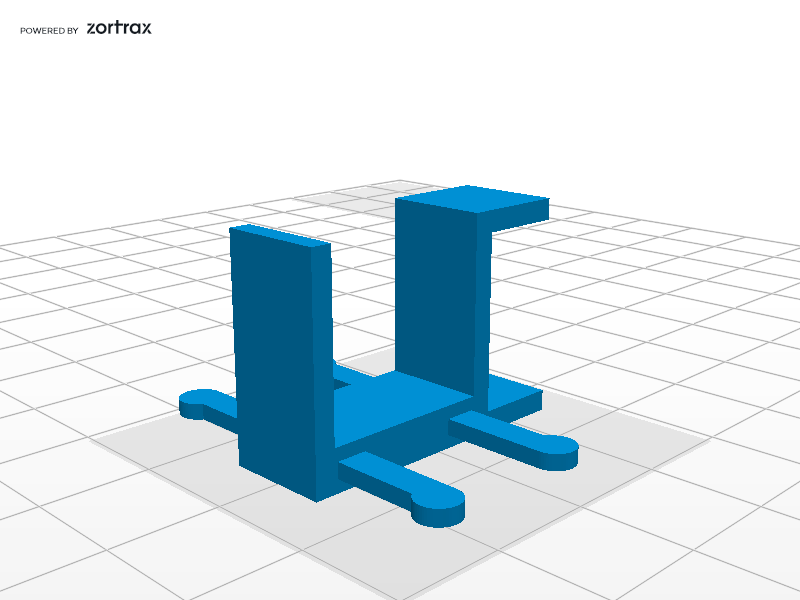
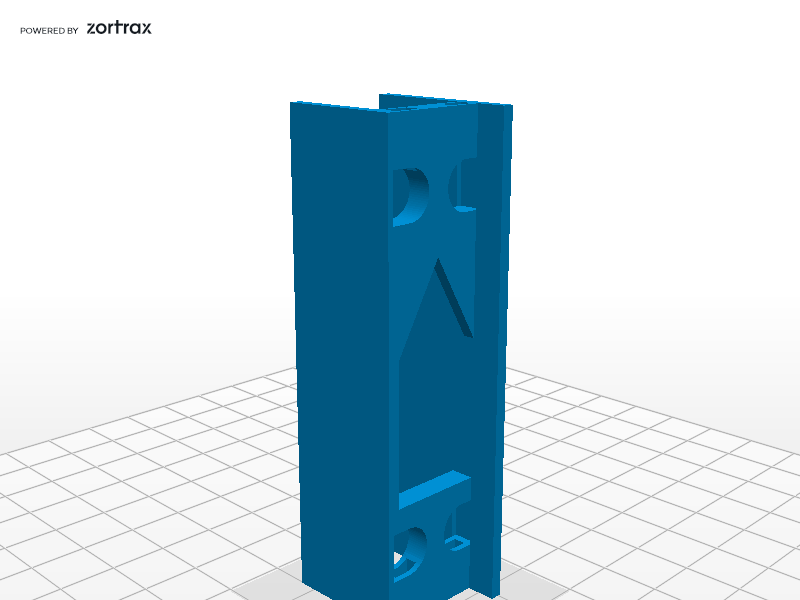
Printed parts:
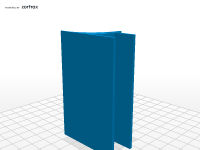
2 x Window-pipe adapter – ( symbol:WPA )
Bottom parts for chamber:
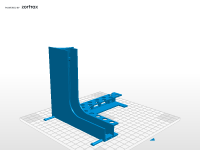
2 x Bottom Right Corner ( symbol: CBR )
2 x Bottom Left Corner ( symbol: CBL )
2 x 8 cm Front female connectors ( symbol: FFC8 )
2 x 8 cm Side female connectors ( symbol: SFC8 )
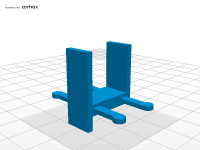
4 x 1 cm Front male connectors ( symbol: FMC1 )
4 x 1 cm Side male connectors ( symbol: SMC1 )
4 x 1 cm Middle male connectors ( symbol: MMC1 )
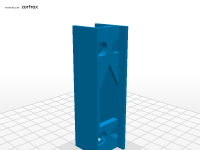
1 x Back side adapter ( symbol: BSA )
Top parts for chamber:
2 x Top Right Corner ( symbol:CTR )
2 x Top Left Corner ( symbol:CTL )
2 x Extractor holder ( symbol: EH )
1 x Thermometer housing ( symbol: TH )
Printing parameters:
– Material: Z-ULTRAT (Exception: male connectors should be printed with more flexible Z-ABS)
– Layer thickness: 0.19 mm
– Infill: Light (Exception: Extractor holders should have full infill)
– Support: 10 degrees light
Corners description:
– They can warp so I use side covers and try to keep warm air in the room
– Use mixture with Z-ABS or Z-Ultrat residues and pure Acetone – it creates glue for the surface
– Circular holes are designed for support removal with help of a scalpel handle (scalpel that is in default toolbox)
– Circular holes can be also used for screws
Male connectors description:
– they are so small because sticks are very fragile, so it will be easy to replace them
– print sticks horizontally ( otherwise they will break ! )
– print with more flexible Z-ABS material
Female connectors description:
– these parts are printed in various orientations, therefore you can expect some discrepancies between the results and the design
Window-pipe adapter description:
– unfortunately I had to print it horizontally, so I can warp
– I connected 2 parts with ABS slurry
Parts that you need to buy in a hardware store:
– Flexible pipe 3 m (radius 5 cm)
– 2 x Metal braces for pipe
– Dark shelfs cut into rectangles:
* 2 x 16x200x340 (left and right site)
* 1 x 16x235x340 (front side)
* 1 x 16x285x340 (back side)
* 2 x 16x97x340 (roof)
– Dark protective film
– Dark insulating tape
Electronic devices used in the project:
– TOOLCRAFT ZD-153A Soldering Fume Extractor
– Thermometer with probe 1.5 m BLOW TH001
I’m waiting for your feedback!
mrh174@gmail.com
| Last Update | Type | Downloads | Size | |||
|---|---|---|---|---|---|---|
|
|
BackHoleAdapter_BHA.stl | 08 October 2015 |
.stl | 87 | 456,43 KB | |
|
|
CornerBottomLeft_CBL.stl | 08 October 2015 |
.stl | 91 | 265,02 KB | |
|
|
CornerBottomRight_CBR.stl | 08 October 2015 |
.stl | 87 | 267,07 KB | |
|
|
CornerTopLeft_CTL.stl | 08 October 2015 |
.stl | 87 | 215,61 KB | |
|
|
CornerTopRight_CTR.stl | 08 October 2015 |
.stl | 87 | 215,41 KB | |
|
|
ExtractorHolder_EH.stl | 08 October 2015 |
.stl | 87 | 155,16 KB | |
|
|
FrontFemaleConnector8_FFC8.stl | 08 October 2015 |
.stl | 88 | 66,59 KB | |
|
|
FrontMaleConnector1_FMC1.stl | 08 October 2015 |
.stl | 87 | 47,15 KB | |
|
|
MiddleMaleConnector1_MMC1.stl | 08 October 2015 |
.stl | 87 | 41,1 KB | |
|
|
SideFemaleConnector8_SFC8.stl | 08 October 2015 |
.stl | 88 | 55,16 KB | |
|
|
SideMaleConnector1_SMC1.stl | 08 October 2015 |
.stl | 90 | 39,93 KB | |
|
|
TermometerHousing_TH.stl | 08 October 2015 |
.stl | 87 | 183,48 KB | |
|
|
WidnowPipeAdapter_WPA.stl | 08 October 2015 |
.stl | 87 | 336,9 KB | |


3 Comments
You must be logged in to post a comment.
You must be logged in to post a comment.
@xedu: I was working on this for last 3 weeks
Great ! How long did you work on this project
nice JOB!
Zortrax fumes extraction DIY
by przemyslaw.marchewkaAdd this project to collection